Task 2: Create the Free-css template container
Instructions
- get the docker image of Amazon linux
- install nginx
- add free-css template
Steps Performed:
Getting the Amazon Linux docker image
-
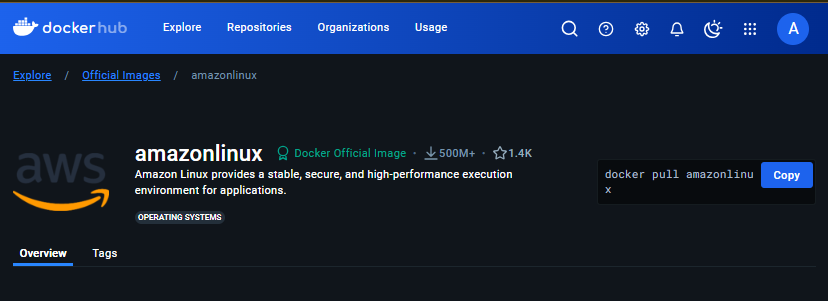
Goto docker hub ⇒ https://hub.docker.com
-
Click on Search and search for -⇒ amazonlinux
-
Here I found this official image
-
I simply pulled the image into my ec2 instance
docker pull amazonlinuxhere is successful pull looks like

-
We can further confirm if the image is really present in the system with
docker images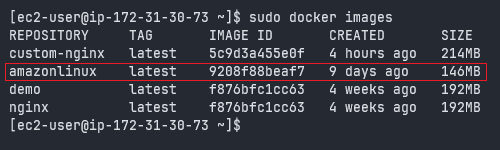 Looks like amazonlinux is successfully pulled in our system
lets start the container using this image
Looks like amazonlinux is successfully pulled in our system
lets start the container using this image -
Running the container from image
sudo docker run -d -p 32768:80 --name free-css-template amazonlinuxWe used
-dto run the container in detached mode meaning its output wont occupy the terminal screen and quietly run in the background after running this command it will simply give uscontainer-idand gives us prompt.--nameflag will assign the name for our container instead of their random funny names and with-pwe are forwarding the network traffic of port 80 of the container to 32768 port of our host machine in this case ec2-instance.
We can check for the further detail of the container with
docker psUpon inspection we can see there is no container running lets check again withdocker ps -aand for our surprise container is exited just after it run. Thats because its an Operating system container which doesnt really do anything itself unless we assign it a task or a process that will run in background constantly so we can enter into the container to perform our tasks.We can achieve this by running the container interactively
but first clean up the exited container with
docker rm <container-id>
Getting the shell into container
- Run a container interactively.
docker run -it -d -p 32768:80 --name free-css-template amazonlinuxI run the container with -it and -d so it opened the interactive stdin shell session for me to interact with it and the container itself is in detached mode allowing us to enter into it anytime with exec command
docker exec -it <container-id> <shell-command>
we got bash shell session inside container Now we need to update the packages inside the container
Installing packages inside container
yum update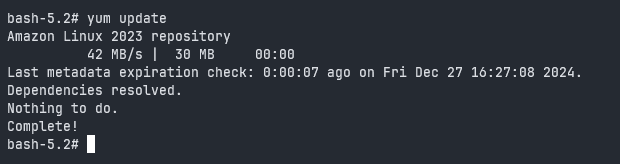
- Install nginx package start it
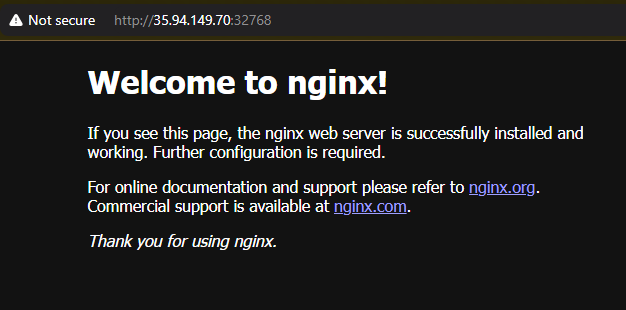
yum install nginx -ysince this amazonlinux container image doesn’t come with systemd preinstalled we cannot start nginx daemon so we need to run this command manually in background
nginx &and our nginx server is successfully started at port 32768 on our host ec2-instance
Installing Free-CSS template
Lets add free css template in it
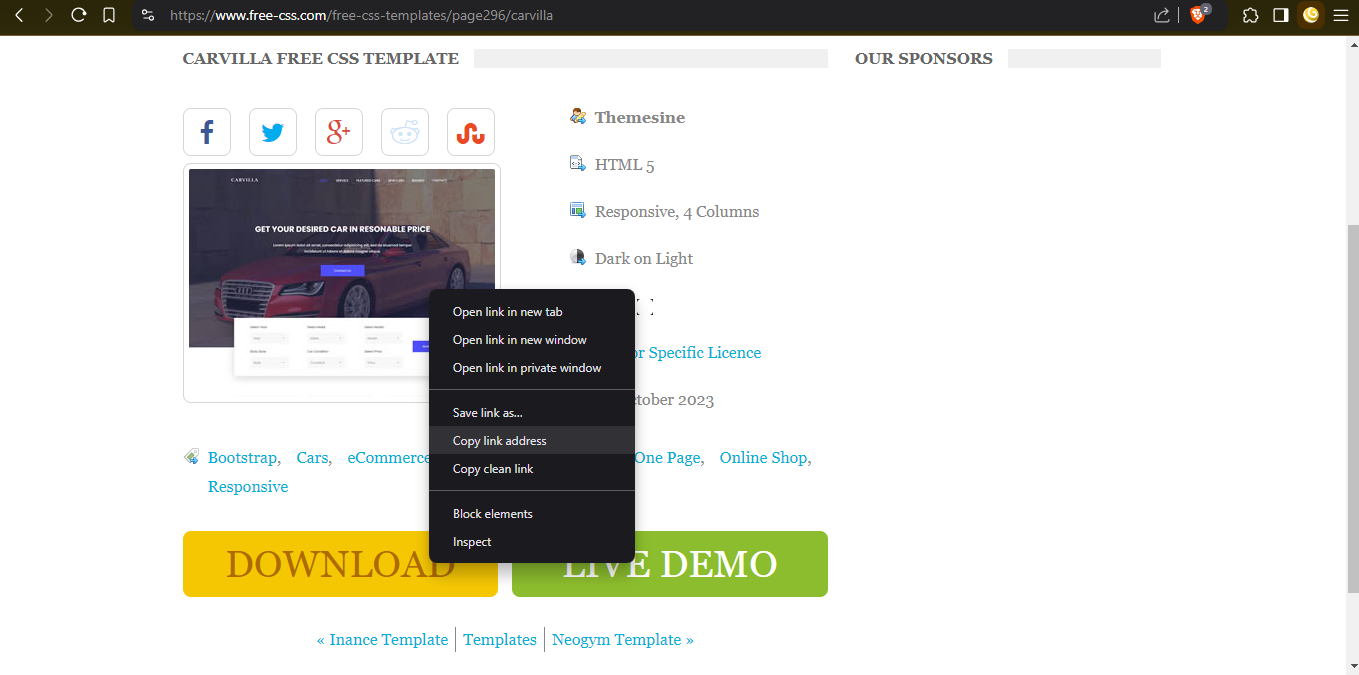
Head on to https://www.free-css.com/ and download any free css template you want by right clicking on the download button and copying link address
 and go to your containers terminal session and download this file in nginx server directory with curl or wget
cd /usr/share/nginx/html
curl -O https://www.free-css.com/assets/files/free-css-templates/download/page296/carvilla.zip

# Extract the zip file
unzip carvilla.zip

# If unzip is not found install unzip package
sudo yum install unzip
extracting the zip has extracted all contents into folder named carvilla-v1.0
I’ll rename it for my convenient.
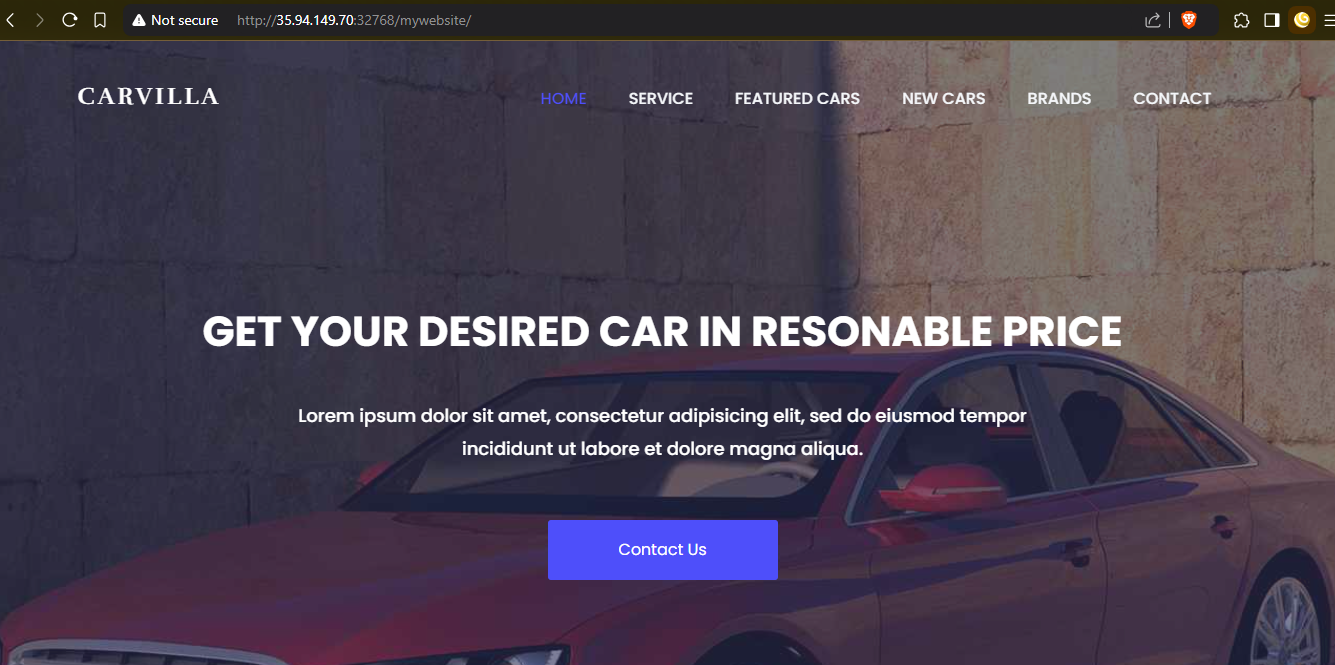
mv carvilla-v1.0 mywebsite
and the website is running at port 32768/mywebsite
now we can get out of this container with exit command.
We have our container successfully hosting our free-css template on port http://instance-ip:32768/mywebsite Lets create the image out of this container so we can spin many containers as we want and save the hustle to do all these steps all over again.
Creating and Storing the Image on Dockerhub
- Creating the image
 Now that we have our container running and our site is visible I want to make image out of it and push it to docker hub
for that we use docker commit <container-id>
it returns with the sha-id

with docker images we can confirm the image creation
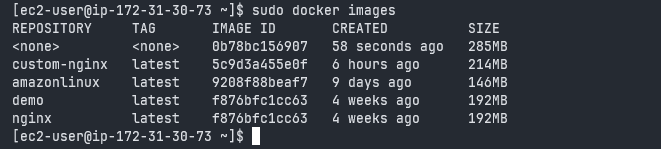
our image shown in first row doesnt have name so lets give it a tag and then push it to repo
docker tag <image-id> <tagname>
docker tag local-image:tagname new-repo:tagname

Here I have already created repository in docker hub so I gave its name here
and run docker hub login command before running push command
docker login
and push it to our docker hub
docker push new-repo:tagname

And our project is successful pushed over docker hub and can be access from here
https://hub.docker.com/r/archsarangx/amazonlinux-free-css-demo/tags
Storing the Image on EKS
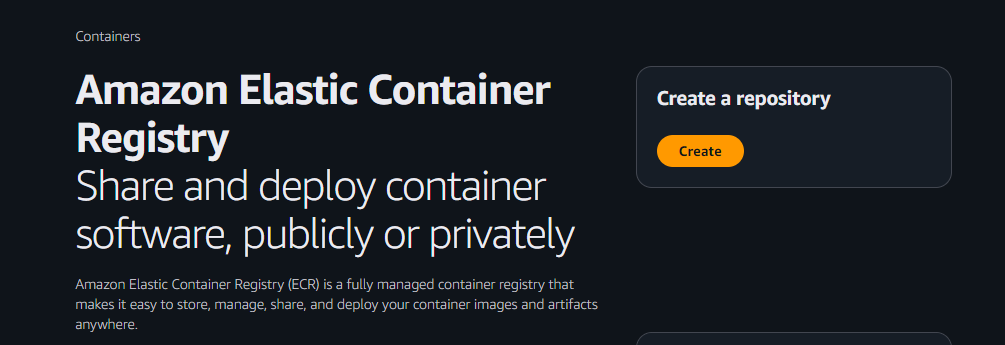
To store the image into Amazon’s Elastic Container Registry which is similar to docker hub but their own we need to create a repository here too.
I gave the repo same name
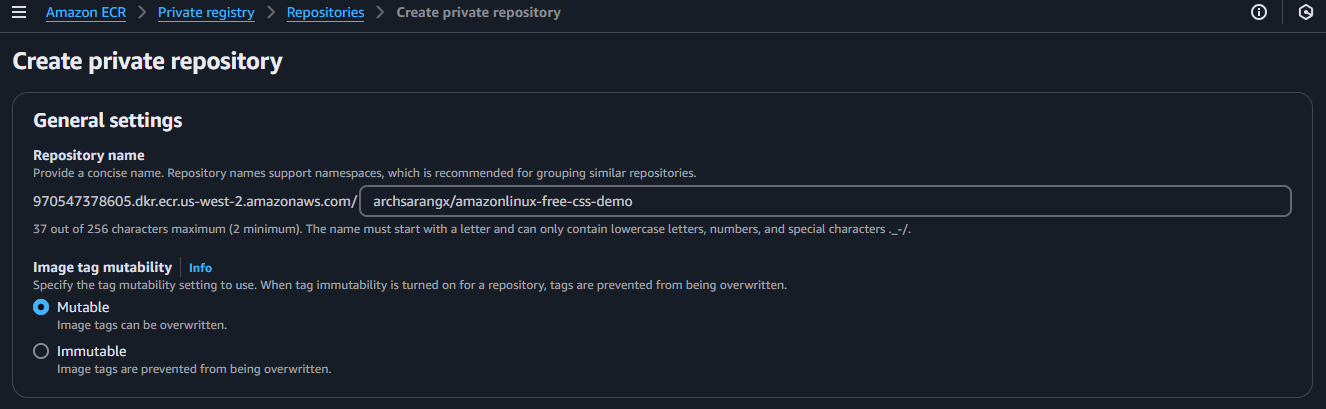
and Upon clicking create button my repo is created
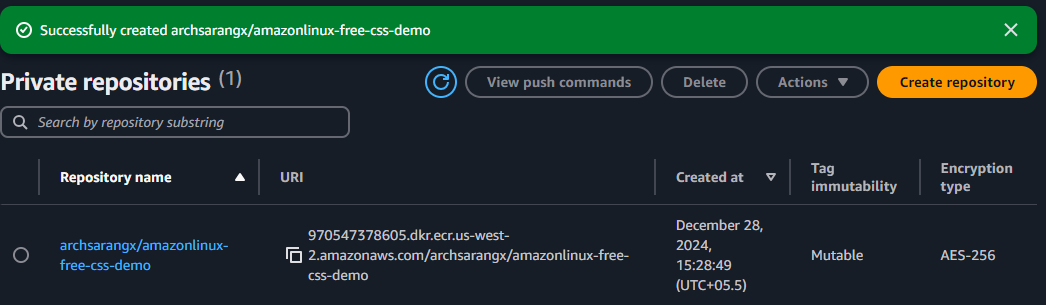 Click on the Repo name in blue and click on view push commands to get instruction for pushing our image into this repo
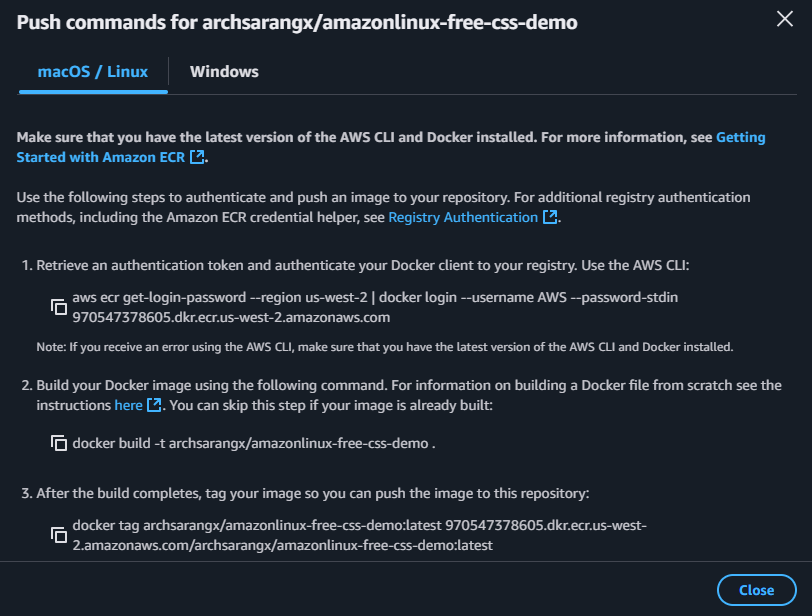
Authenticating the docker client with EKS Registry
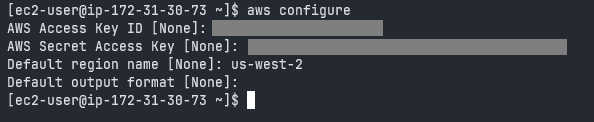
To push our image we need to first Authenticate with registry for that carefully use first command also we need to have aws-cli installed and configured for that luckily for me I am using amazonlinux ec2 instance so its already installed i can just run aws configure to configure aws-cli
For those havent can check this documentation to configure their aws-cli within instance.
and then run this command provided in the instructions but remember to add sudo as we are using standard user

Now that We have successfully login to ECR lets tag the image accordingly and push it to ECR
sudo docker tag <username>/<repo-name>:<tag-name> <amazon-account-id>.dkr.ecr.<region>.amazonaws.com/<username>/<newname>:<newtag>
 and push to ECR
sudo docker push <amazon-account-id>.dkr.ecr.<region>.amazonaws.com/<username>/<repo-name>:<tag-name>

and refresh the amazon EKS web site to see the latest image listed in there

Thank you for Reading Have a good day!